It’s been awhile since I’ve shared anything about our home since we moved in August. It’s been a busy few months of DIYs, sourcing furniture, thrifting, and hanging pictures. Our little townhome is one we have come to love and each piece in it has a story. Whether our furniture was found on the side of the road (Wait until you see that transformation!) found at the Goodwill, or found for great deals at big box stores, our home is full of pieces that feel like it has a soul and will be loved for years to come. My roommates and I only had a few pieces that we accumulated since our move to Redding and were excited to add some more permanent items to our home. We still have a few finishing touches, but I’m excited to share with you our first Before and After!
Keep reading for the full how-to and process after the jump!
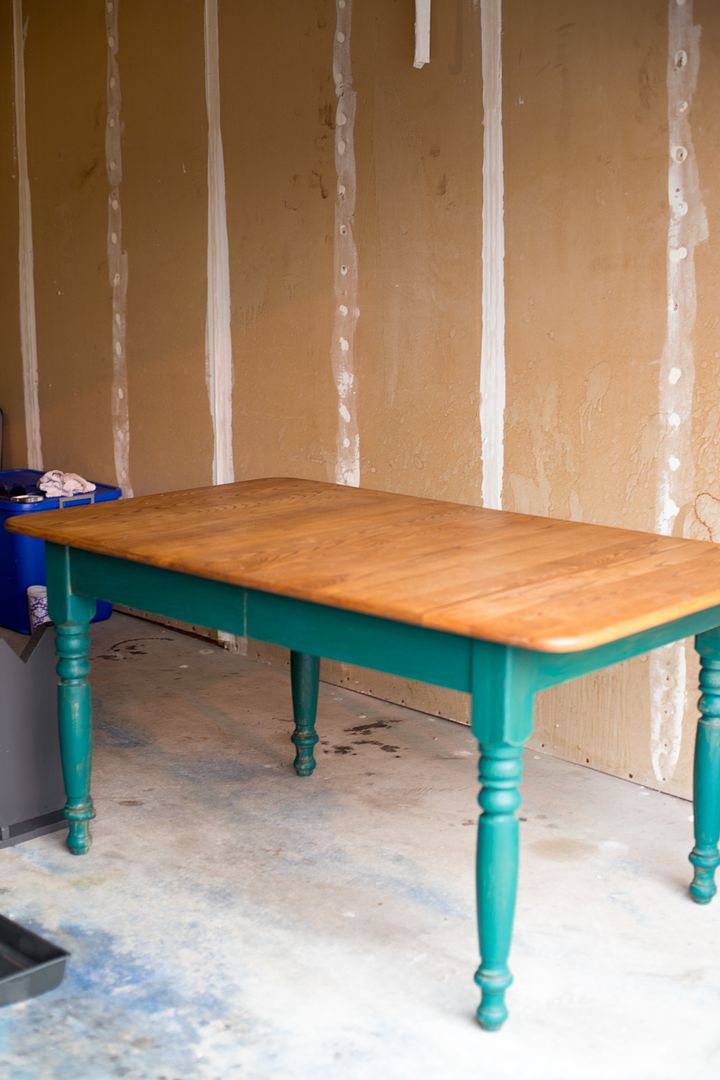
+ Before
When we moved in, we knew gathering around the common table, nights filled with good food and wine, were super important to us. Our eat-in kitchen is small, but we wanted a space where everyone could gather. A lot of our projects in the house focused here. Our top priorities: a solid wood top and loads of seating. We started looking for a kitchen table and chairs. I knew I wanted something a bit more minimal, but my roomies adore traditional style. We opted to go with a farmhouse table with benches to keep things more casual while keeping a rounded style on the leg. I was sourcing furniture one day, going from thrift store to thrift store, and then I found this beauty. The set needed a bit of love, some paint, and a good buffing on top to restore it back to it’s splendor. The best part? It was a great deal at $150 for the set! Around here that’s a price that can’t be beat for decent furniture. Now to get rid of the hunter green that screamed of the 90’s and scrolling ivy wallpaper.
>>During
Supplies:
- Sandpaper or low-grade steel wool
- Rag
- Paint Tray
- Paint brush
- Tarp
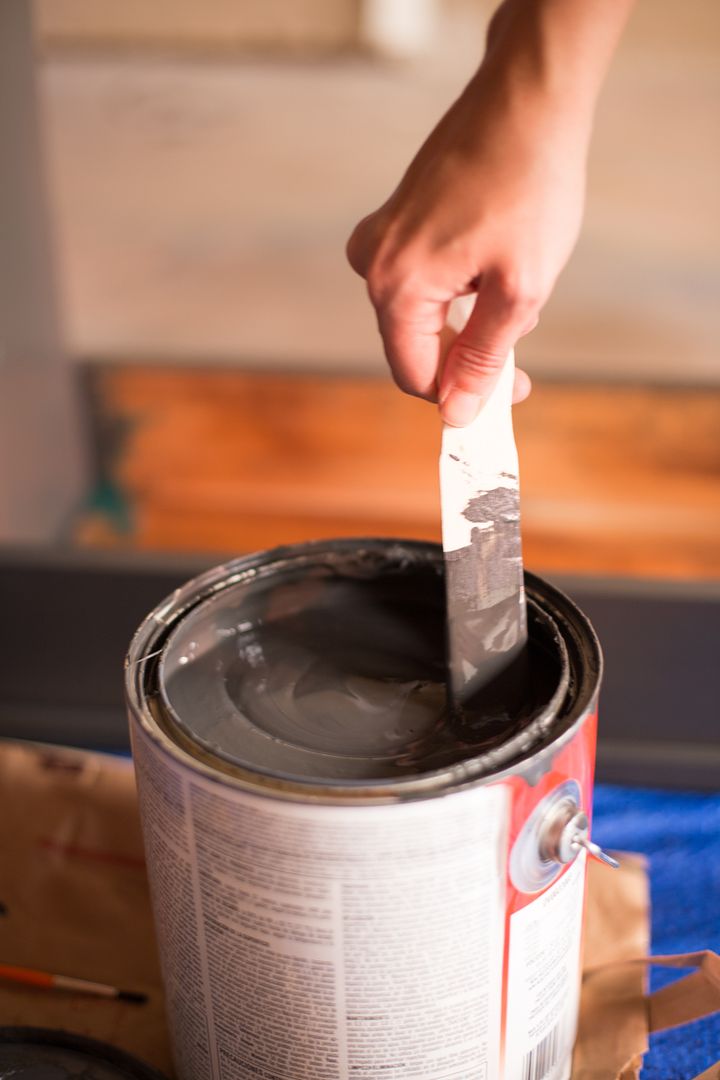
- Gallon of paint (We used Behr Graphic Charcoal N500-6)
- Clear polyurethane (high gloss)
- Foam brush or roller
- Coconut oil
Directions:
Place tarp below furniture in a well ventilated and well-lit area.
Using steel wool or sandpaper, rough up the paint. Make sure to use a grade that won’t place gouges into the wood. Then with a damp rag, wipe down the furniture, removing any excess dust or paint. Using a brush, apply a thin, even coat of paint to your furniture. We loved the solid wood top and color, so we decided to only paint the base of the table and the benches. Allow the first coat to dry (1-2 hours) and then apply a second coat of paint. Allow to cure overnight. Using a foam brush or roller, apply polyurethane to the benches and the base of the table. Allow to cure overnight. The top of our table had been refinished and just needed a bit of buffing. We knew we could use a paste wax if we liked, but we’re looking for a more affordable alternative we had on hand that would bring out the luster of the natural oak. Using solid coconut oil and a rag, rub the oil into the wood in a circular motion. (This will add protection to the wood top, but should be reapplied regularly.)
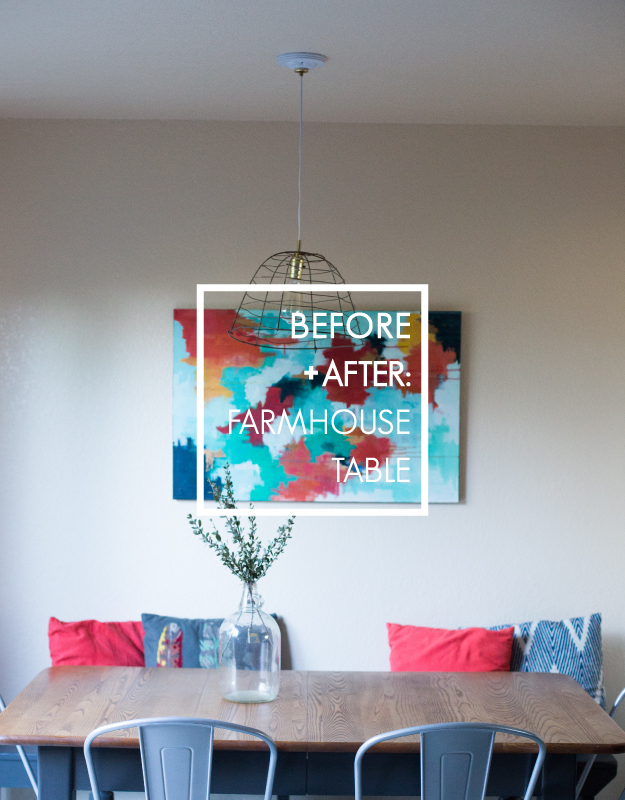
+After
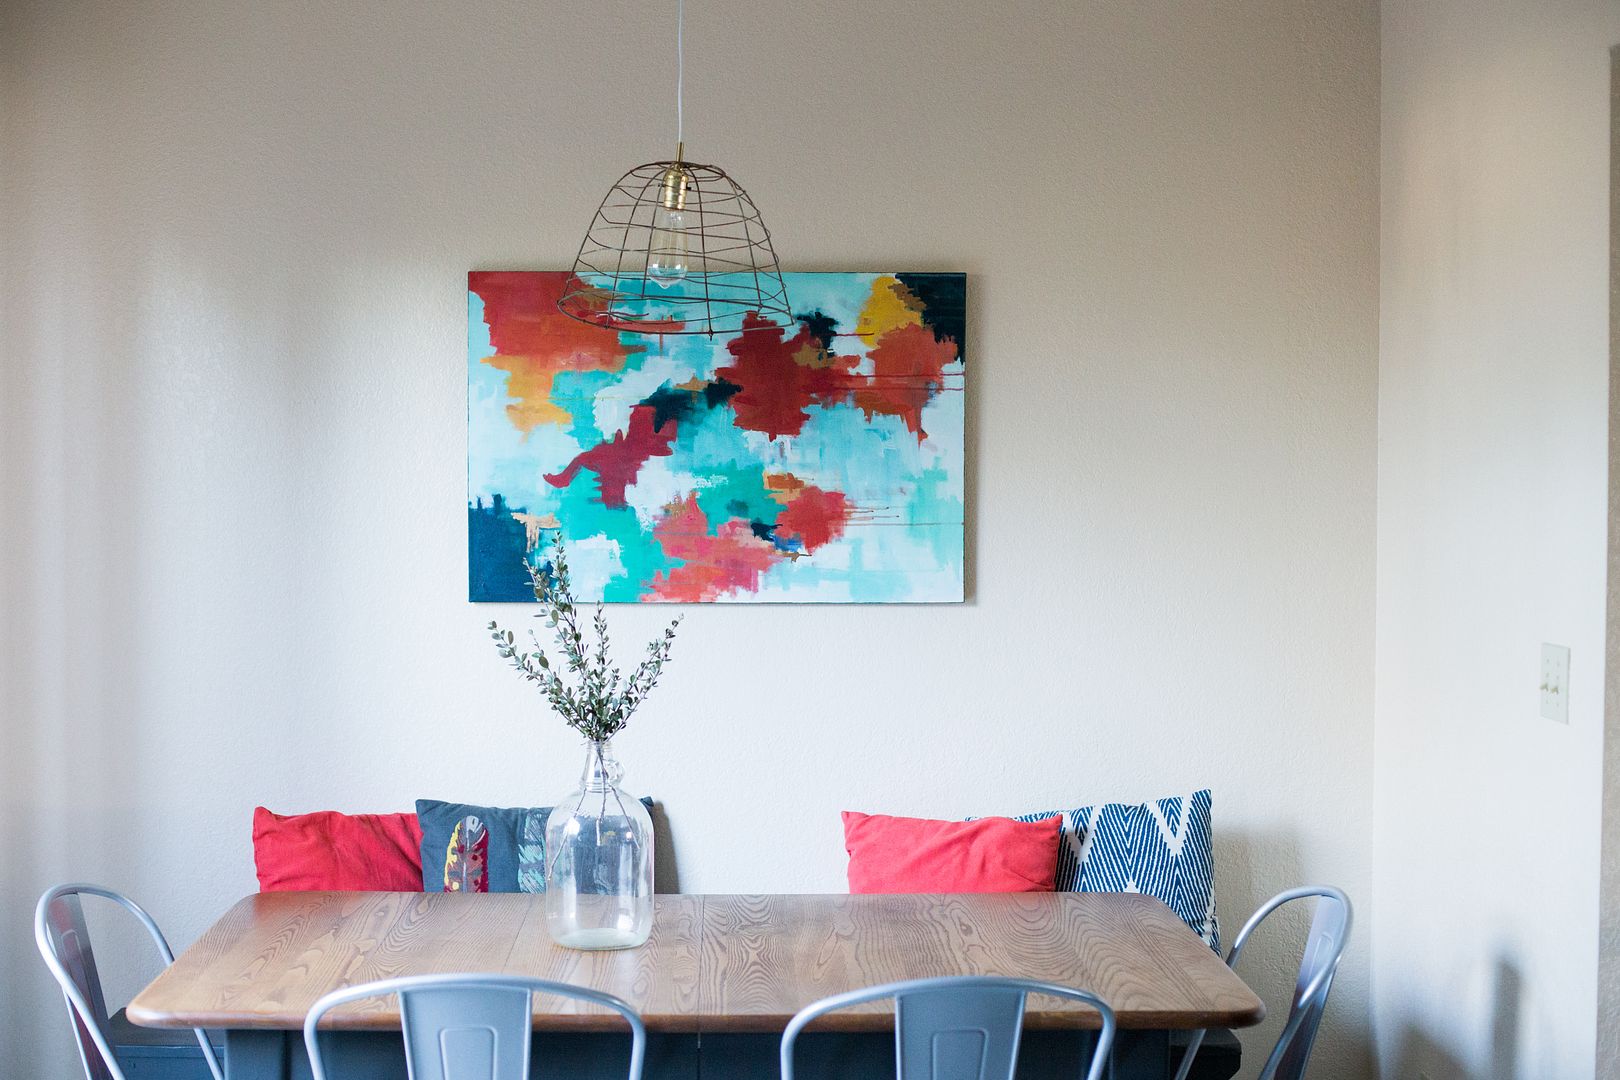
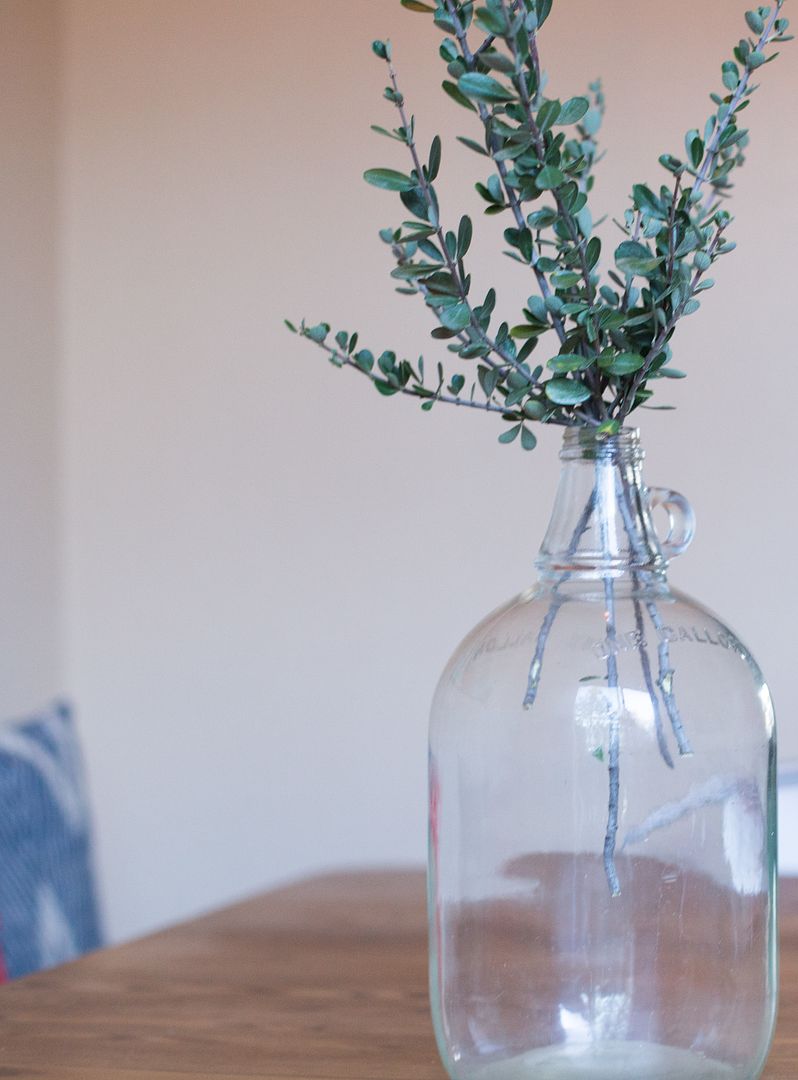
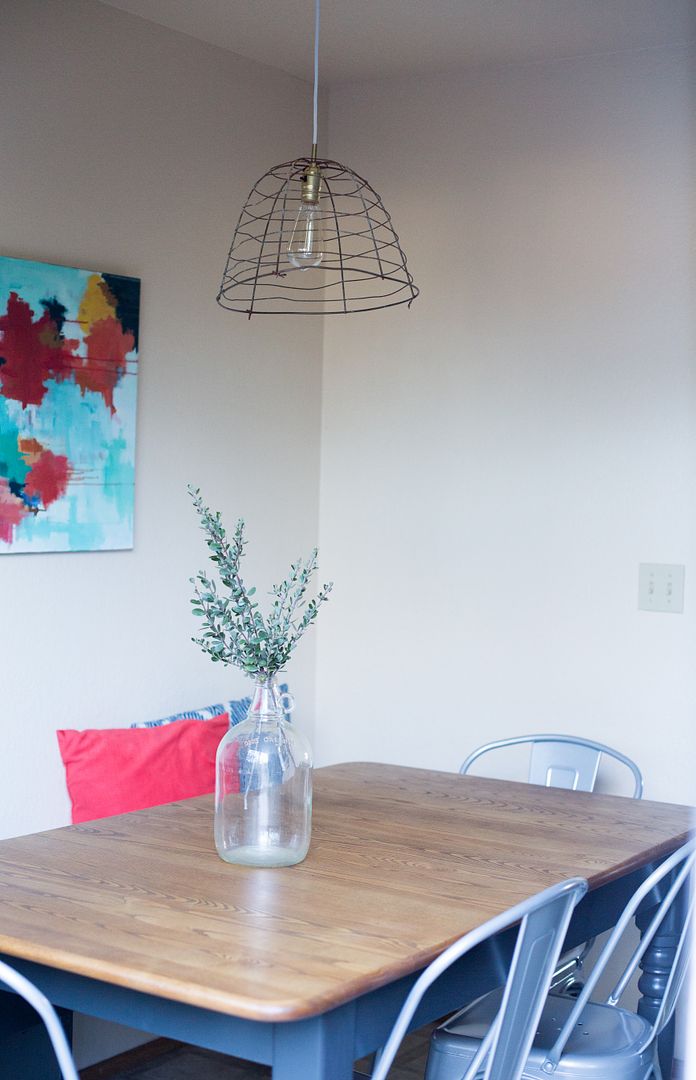
We absolutely love our kitchen table. After bringing it into the kitchen we opted to remove a leaf and purchase some metal chairs that tuck under to save on space. It was an excellent decision and one we’re really happy we made. This table has already experienced so much life. There has been laughter, tears shed, deep talks, cups of coffee, late night study sessions, dinner parties, and weekend brunches. Soon this table will host its first Friendsgiving. A tradition that has been going for years.
What is your favorite furniture before + after? I’d love to hear from you!! Comment below.